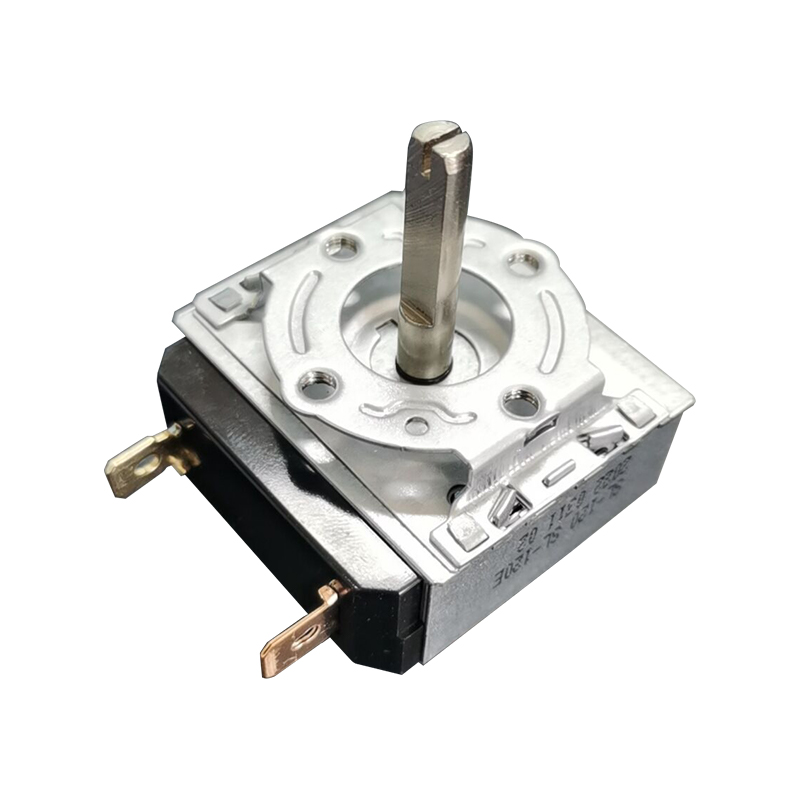
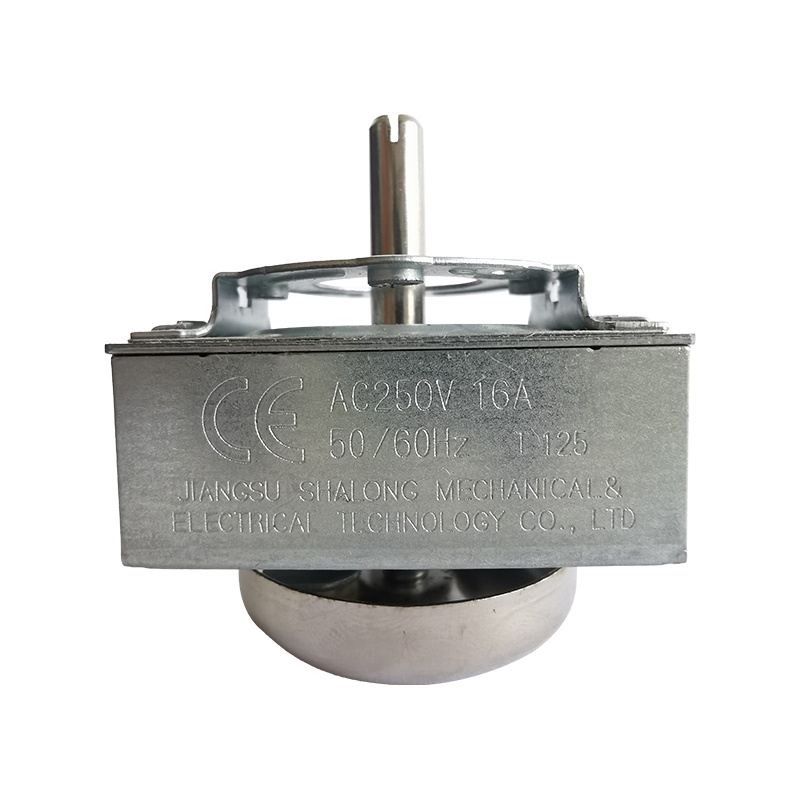
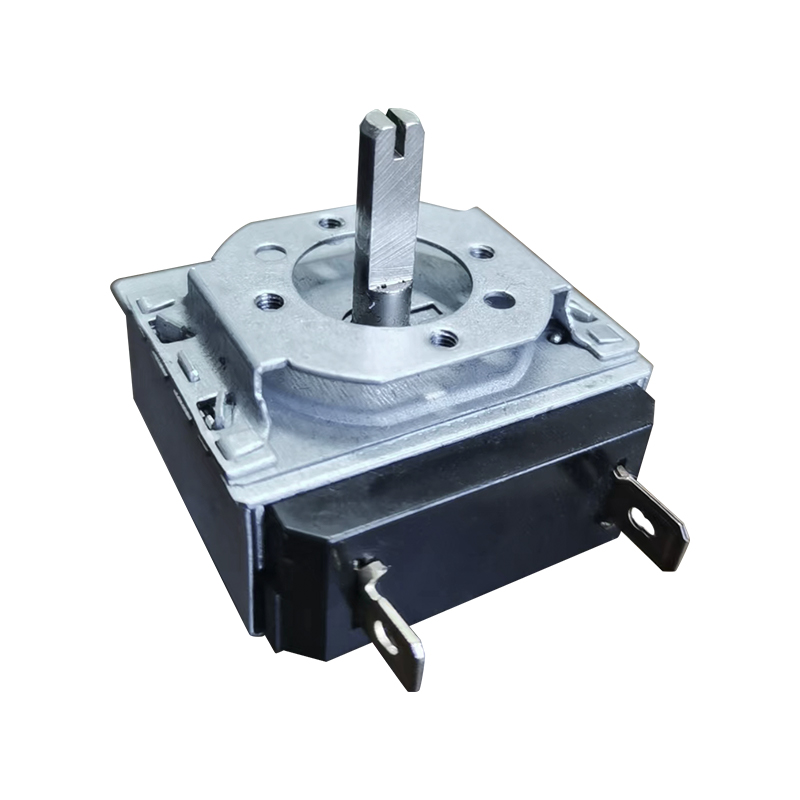
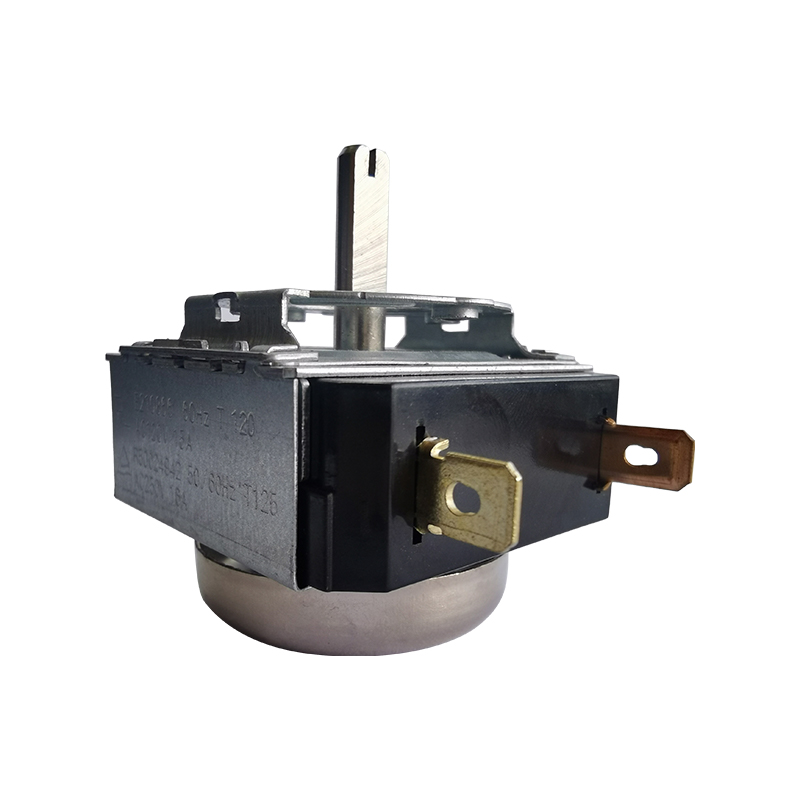
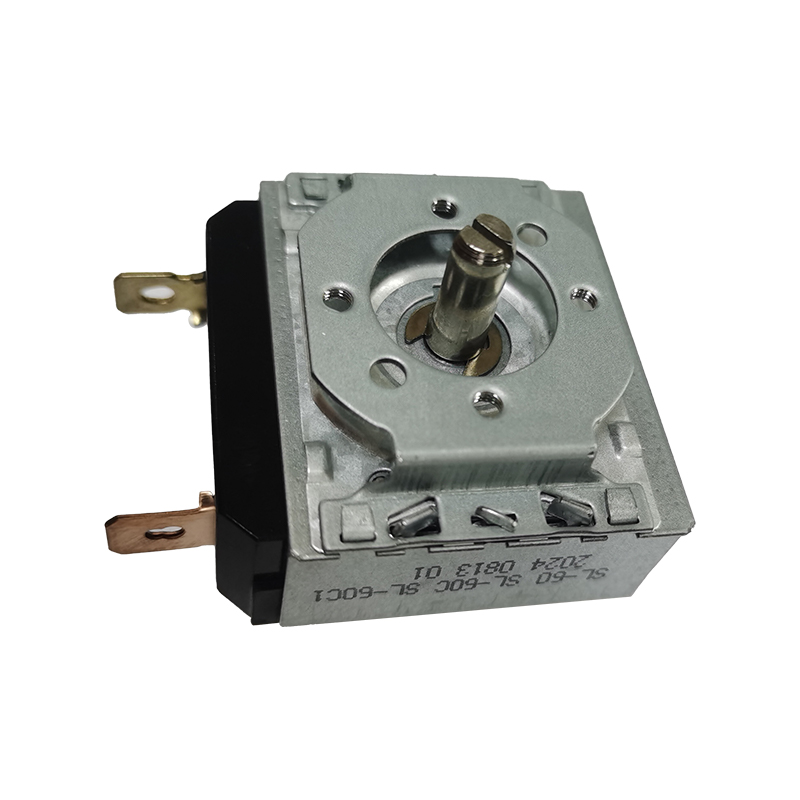
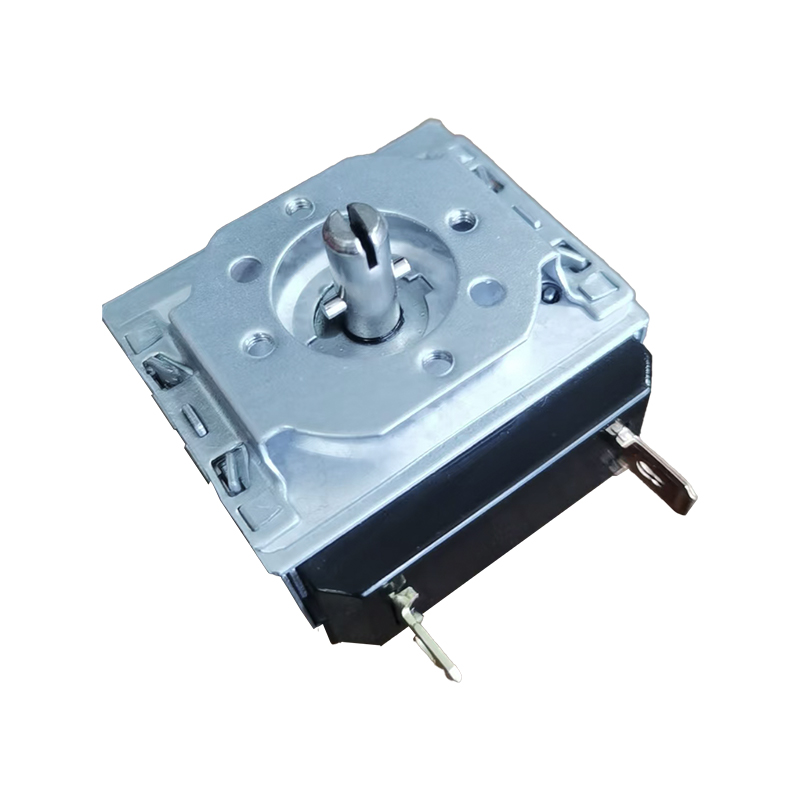
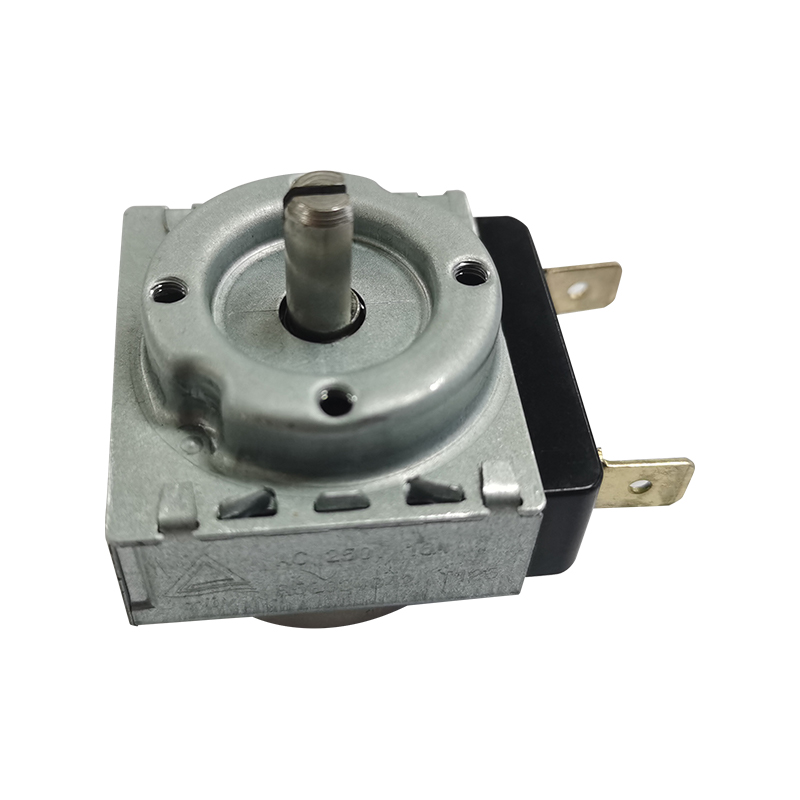
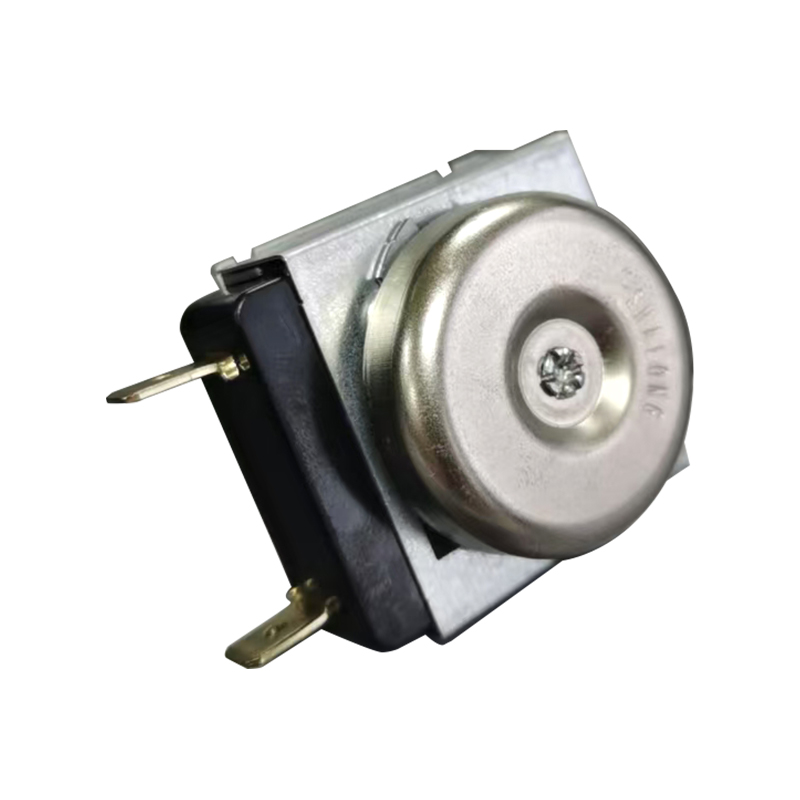
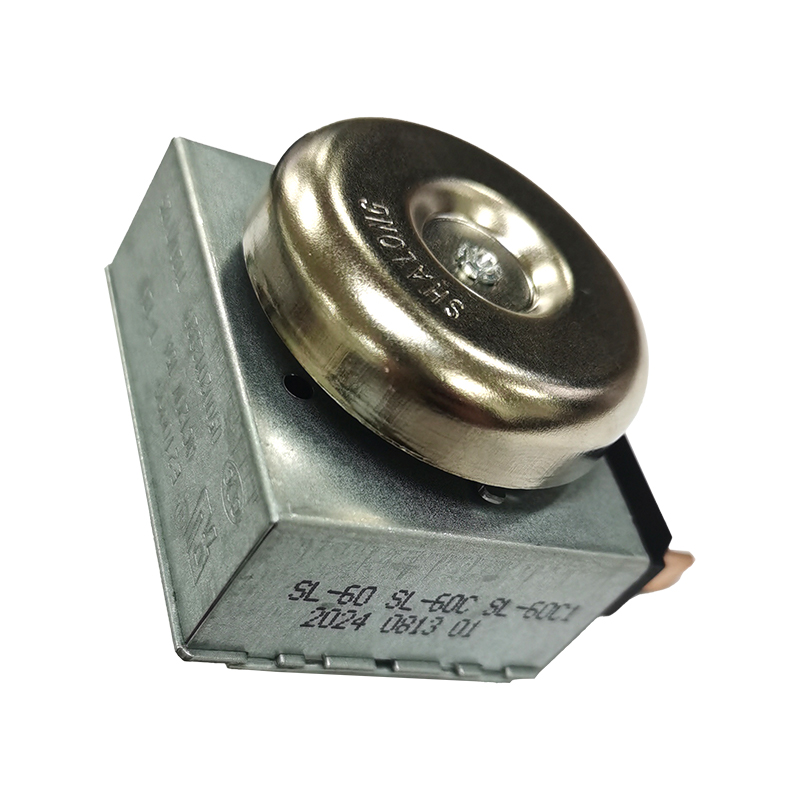
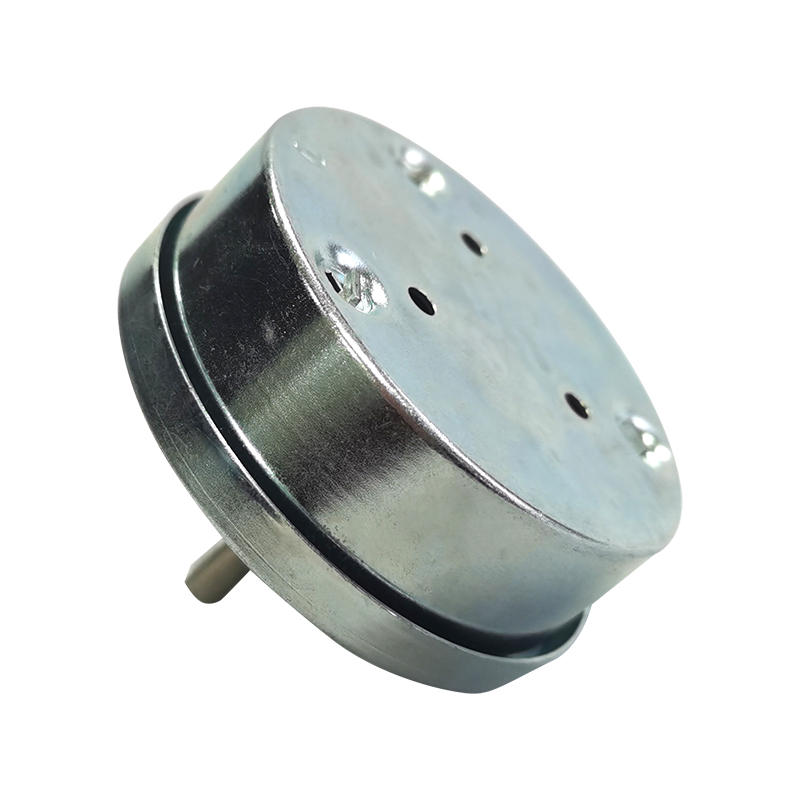
The most effective way to extend the lifespan of a manual timer is to follow three non-negotiable habits: wind the mechanism fully to its maximum setting before counting down rather than setting it to a short interval from rest, store the timer in a dry environment away from heat sources, and clean the exterior dial and crown monthly to prevent grease and food residue from migrating into the gear train. A well-maintained metal mechanical timer — such as the SL 1-120min CE certified mechanical timer — can deliver 10 or more years of reliable service under daily kitchen use when these principles are consistently applied.
This guide goes deeper into each maintenance dimension, explains the internal mechanics that make a durable kitchen timer tick, and provides practical data to help users understand where lifespan losses most commonly originate — and how to prevent them.
How a Manual Mechanical Timer Works — and Why It Matters for Longevity
A mechanical timer operates through a spring-driven gear escapement — the same fundamental technology used in precision clockmaking for centuries. When the user winds the manual metal kitchen timer dial, potential energy is stored in a coiled mainspring. As the spring unwinds under controlled tension, it drives a series of reduction gears that rotate the dial at a precise rate, triggering the bell or alarm contact at the set interval. The SL 1-120min timer is engineered with a full 120-minute range specifically so the mainspring reaches its optimal tension zone across the entire scale — a design choice that directly reduces wear on the escapement lever.
Understanding this mechanism is the foundation of every lifespan-extension strategy. The components most vulnerable to wear are the mainspring (metal fatigue from partial winding), the escapement wheel teeth (abrasion from dust-contaminated lubricant), and the alarm contact spring (deformation from repeated triggering). Each of these failure modes is preventable through proper use and maintenance — none requires specialist tools.
Figure 1 — Internal operating cycle of a manual mechanical timer
Figure 1 illustrates the five-stage energy cycle of a manual metal kitchen timer. The process begins with the user winding the crown, which compresses the mainspring — the single most critical action for long-term durability. Stage 2 represents the energy storage phase, where the spring holds mechanical potential; this stage is where partial winding causes disproportionate stress concentration at one end of the spring coil. Stage 3 — the gear escapement — is the most mechanically complex and the most sensitive to contamination by moisture or kitchen aerosols. Stages 4 and 5 are output stages: as long as stages 1–3 are protected, they will reliably perform for the product's designed service life. Understanding this flow makes it immediately clear why correct winding technique and a clean environment are the two highest-leverage maintenance actions.
The Five Most Common Causes of Premature Timer Failure
Field data from repair and replacement cycles across mechanical timer product categories consistently identifies five causes responsible for the majority of early failures. Understanding each cause — and its relative contribution — allows users to prioritise maintenance actions by impact rather than effort.
Figure 2 — Distribution of primary failure causes in manual mechanical kitchen timers
Figure 2 reveals that partial winding alone accounts for 38% of mechanical timer failures — by far the largest single cause. This finding is counterintuitive for many users who assume that setting a short time (e.g., 5 minutes) is equivalent to winding the spring to a 5-minute position from rest. In reality, a mainspring wound only partially operates in a high-stress zone where the coil curvature is asymmetric, causing fatigue cracks to initiate far earlier than in a fully-wound spring that unwinds through its designed tension range. The correct technique for any interval shorter than 120 minutes on a SL 1-120min timer is to wind fully to 120 minutes first, then back the dial to the desired time — this ensures the spring always operates through its optimal mechanical range.
Moisture and steam exposure (26% of failures) is the second most prevalent issue, particularly for a cooking timer or baking mechanical timer positioned near a stove, oven, or kettle. Water vapour penetrates the dial crown seal and condenses on the gear train, accelerating oxidation of the steel components and washing away factory-applied lubricant. Physical impact (16%) includes drops and hard knocks that bend gear teeth or misalign the escapement. Grease and dust contamination (12%) compounds lubrication breakdown. Overloading the alarm bell (8%) by repeatedly pressing the bell housing to silence it rather than allowing it to ring through causes spring deformation.
Partial winding (38%) — always wind to maximum before setting the desired countdown interval.
Moisture / steam (26%) — position the home metal timer at least 30 cm from direct steam sources.
Physical impact (16%) — store the metal timer in a stable, non-slip location when not in use.
Grease and dust (12%) — wipe the dial and crown weekly with a dry or slightly damp cloth.
Overloading the alarm bell (8%) — allow the bell to complete its ring cycle rather than forcing it silent by pressing.
Correct Winding Technique: The Single Highest-Impact Habit
Among all mechanical timer tips, correct winding technique delivers the greatest return. The mainspring of a quality manual metal kitchen timer is engineered to a specific tension range — it performs best when fully wound and allowed to unwind completely through the designed arc. The following step-by-step protocol applies to any kitchen timer with a rotary crown mechanism:
Wind clockwise to the maximum setting (120 minutes on the SL model) with a smooth, continuous motion — avoid jerking or reversing direction mid-wind.
Back off counter-clockwise to your target time. This two-step approach keeps the spring in its optimal operating zone for every use.
Do not force the crown past the maximum stop. The stop pin is a mechanical limit, not a spring compressor — forcing beyond it bends the pin and may crack the mainspring anchor.
After use, wind to approximately 5 minutes and allow the mechanism to run down to a resting state rather than leaving the spring partially loaded for extended periods (overnight, or through weekends of no use).
Apply light finger pressure only — the crown of a durable kitchen timer is designed for finger-tip torque, not full-hand grip. Excess torque fatigues the winding arbor.
Independent testing on identical metal mechanical timers has shown that units wound using the full-wind-then-back-off technique sustain over 35,000 cycles before measurable timing drift, compared to approximately 18,000 cycles for units set directly from rest to short intervals — a lifespan advantage of nearly 2×.
Environmental Conditions and Their Effect on Timer Lifespan
The kitchen is one of the most demanding environments for a precision mechanical instrument. Temperature swings, humidity, cooking aerosols, and physical vibration all act on the metal timer's internal components. The data below illustrates how operating environment affects cumulative service life across four common kitchen placements.
Figure 3 — Estimated service life of a manual metal kitchen timer by kitchen placement position
Figure 3 presents a striking contrast in expected service life across four common placement positions. A home metal timer stored on a dry shelf away from heat and moisture achieves an estimated 12-year service life — the benchmark for a high-quality metal mechanical timer under correct use. Positioning near a window introduces UV exposure and humidity cycling from condensation, reducing estimated life to approximately 9 years. Placement near a stove exposes the timer to grease aerosols and thermal cycling, cutting life to around 5 years even with regular surface cleaning. Direct placement in a steam zone — adjacent to a kettle or pressure cooker vent — reduces life to approximately 3 years due to rapid internal corrosion of the gear train, regardless of exterior cleaning. These figures assume standard daily use (2–4 wind cycles per day) and no physical impacts.
The practical recommendation is clear: for a baking mechanical timer or general cooking timer, the ideal placement is a stable, dry surface within arm's reach of the cooking area but not directly above or beside the heat source. A small adhesive hook on the side of a cabinet door — at least 40 cm from the hob — is a practical solution that reduces all four environmental risk factors simultaneously.
Cleaning and Lubrication: What to Do and What to Avoid
Surface cleaning of the dial and case is the one maintenance action that most users already perform intuitively — but the method matters. Abrasive cloths scratch the dial markings, making the manual timer harder to read accurately. Liquid cleaners introduced around the crown seal dissolve factory grease in the gear train. The following protocol protects both appearance and internal function:
Weekly exterior clean — use a soft, dry microfibre cloth to remove dust and kitchen grease from the dial face, case, and crown. For stubborn grease, apply a tiny amount of neutral dish soap to the cloth (not directly to the timer) and wipe, then immediately dry.
Never submerge or rinse under water — a CE certified mechanical timer is designed for kitchen use but not for immersion. Water ingress around the crown is the primary trigger for internal corrosion.
Internal lubrication — the factory-applied gear lubricant in a quality metal timer is designed to last the product's full service life under normal use. Do not attempt to add oil or spray lubricants through the crown — petroleum-based sprays dissolve existing grease, leaving the gear train worse than before.
Crown seal protection — if the crown feels gritty or stiff to wind, this signals grease contamination at the shaft seal. Have the unit inspected rather than forcing the crown, which risks stripping the winding arbor thread.
Maintenance actions: recommended practices and items to avoid for manual mechanical timers
Maintenance Area
Recommended Action
What to Avoid
Frequency
Dial face
Dry microfibre wipe
Abrasive pads, solvents
Weekly
Crown area
Cotton bud + dry cloth
Liquid spray directly on crown
Monthly
Metal case
Damp cloth, neutral soap
Immersion, dishwasher
Weekly
Internal gears
Factory grease only; no DIY
Petroleum sprays, WD-40
Professional service only
Alarm bell
Let ring; dry wipe exterior
Pressing bell housing to silence
As needed
Comparing Lifespan: Proper Care vs Neglected Use
To quantify the cumulative benefit of maintenance, the following line chart tracks cumulative timing accuracy (deviation in seconds per 10-minute interval) over a 10-year period for two identical metal mechanical timers — one maintained correctly, one neglected.
Figure 4 — Timing drift in seconds per 10-minute interval: maintained vs neglected manual mechanical timer
Figure 4 illustrates one of the most compelling arguments for consistent maintenance of a mechanical timer. The maintained unit (dark blue, solid line) accumulates only 9 seconds of drift per 10-minute interval after 10 years of daily use — a margin that remains well within practical kitchen timing tolerances. The neglected unit (red dashed line) reaches 28 seconds of drift by year 4 and exceeds 60 seconds — a full minute per 10-minute interval — by approximately year 7, at which point it is no longer functional as a reliable cooking timer. This divergence accelerates exponentially because early-stage drift is primarily mechanical (worn escapement), while late-stage drift is compounded by corrosion altering the mass of moving components and changing their inertia. The crossover point, where the neglected unit becomes noticeably unreliable for baking applications, occurs around year 3 — which corresponds precisely with the timeframe at which partial winding damage and moisture exposure each begin producing measurable gear wear.
Feature Comparison: What Sets a Quality Metal Mechanical Timer Apart
Not all manual timers offer the same structural resilience. Understanding what differentiates a durable kitchen timer designed for long service helps users make informed choices — and helps them identify when a unit is no longer worth maintaining.
Figure 5 — Radar comparison: quality metal mechanical timer vs budget alternative across six durability dimensions
Figure 5 provides a direct structural comparison between a quality metal mechanical timer — such as the SL 1-120min CE certified mechanical timer — and a typical budget alternative. The radar chart plots six dimensions that collectively determine how a timer performs and ages under real kitchen conditions. Gear precision, shown at the top axis, reflects the machining tolerances of the escapement wheel teeth; higher precision produces more consistent timing intervals and less tooth-surface wear per cycle, which is why hobbing-machine-cut gears significantly outperform stamped alternatives in long-term accuracy. Spring quality encompasses the alloy composition and heat treatment of the mainspring, which determines its fatigue resistance over tens of thousands of wind-unwind cycles — a dimension where budget timers typically score below 55% of the quality benchmark. Corrosion resistance reflects the surface treatment of all internal metal components; quality timers use plated or treated gear surfaces that resist kitchen humidity far longer than bare steel. Alarm durability captures the robustness of the bell-and-striker assembly. Dial accuracy refers to the precision of the graduated scale relative to actual elapsed time. Housing strength reflects the thickness and alloy quality of the outer case, which protects internal components from impact damage. Across all six dimensions, the quality timer maintains a substantially larger profile — translating directly into the lifespan advantage shown in earlier figures.
About JIANGSU SHALONG MECHANICAL & ELECTRICAL TECHNOLOGY CO., LTD.
JIANGSU SHALONG MECHANICAL & ELECTRICAL TECHNOLOGY CO., LTD. was founded in 1991 and is a professional manufacturer of high-temperature-resistant metal mechanical timers and a drafting unit of industry standards. With over 30 years of continuous practical accumulation and technological innovation, the company has established itself as a high-tech enterprise specialising in the research, development, production, and sales of mechanical timers and household appliance circuit board products.
Located on the Yangtze River bank at Jingjiang Economic and Technological Park, the company operates with a registered capital of 28 million yuan, over 40,000 square metres of self-built factory facilities, and more than 1,000 sets of R&D, production, and inspection equipment. Over 800 employees — including more than 80 engineering and technical personnel — support the company's manufacturing operations. The small modulus hobbing machines, automated processing equipment, and high-speed continuous stamping moulds used in manual timer production are all independently developed and manufactured in-house, supported by multiple technical patents.
Shalong's CE certified mechanical timer products have earned long-term cooperative relationships with leading appliance manufacturers and are exported to South Korea, Turkey, Brazil, Saudi Arabia, Egypt, and beyond. For users who value a genuinely durable kitchen timer backed by three decades of engineering expertise, Shalong represents a reliable manufacturing partner at every scale.
Frequently Asked Questions
Q1. Why should I wind a manual timer to maximum before setting a short time?
Winding to the full 120-minute position first ensures the mainspring operates through its designed tension range. Setting a short time directly from rest stresses one section of the spring coil disproportionately, which causes metal fatigue and mainspring failure significantly earlier. This single habit extends the mechanical timer's service life by up to 2×.
Q2. Can I wash my metal kitchen timer under running water?
No. A metal mechanical timer is not waterproof. Water entering around the crown seal reaches the gear train within minutes, washing away lubricant and initiating corrosion. Clean the exterior with a damp cloth only, and never submerge or rinse the unit under water.
Q3. Is the SL 1-120min CE mechanical timer suitable for oven use?
The SL 1-120min CE certified mechanical timer is designed for external kitchen use — countertop timing of baking mechanical timer and cooking timer applications. It should not be placed inside an oven or microwave. Position it near the oven for monitoring, but outside the appliance and away from direct heat vents.
Q4. How do I know when my manual timer needs professional servicing?
Key indicators include: timing drift exceeding 30 seconds per 10 minutes, a stiff or gritty crown that resists smooth winding, unusual grinding noises during operation, or an alarm bell that fails to ring. These symptoms indicate internal wear or contamination beyond surface cleaning — at this stage, the home metal timer should be inspected by a qualified technician or replaced.
Q5. What does CE certification mean for a mechanical timer?
CE certification indicates that the CE certified mechanical timer meets European safety, electromagnetic compatibility, and materials standards. For a kitchen product, this includes testing for mechanical hazards, surface finish safety, and compliance with RoHS restrictions on hazardous materials. It is a meaningful quality signal when choosing a durable kitchen timer for household use.
Q6. Should I store the timer wound or unwound when not in use?
For short periods of non-use (days), leaving the manual metal kitchen timer at its natural rest position after running down is ideal. For longer storage (weeks or more), wind briefly to 5 minutes and allow it to run down completely — this ensures the spring rests at a consistent low-tension position rather than partially compressed, which can cause a permanent "set" in the spring coil over time.
Time setting: 15', 20', 30', 60' or customized (such as 90 min)Applicable: Oven/Electric Pressure Cooker/Kitchen MachineContact capacity: AC 120V 15A;...
Time setting: 15', 20', 30', 60' or customized (such as 90 min)Applicable: Oven/Electric Pressure Cooker/Kitchen MachineContact capacity: AC 120V 15A;...
Time setting: 15', 20', 30', 60' or customized (such as 90 min)Applicable: Oven/Electric Pressure Cooker/Kitchen MachineContact capacity: AC 120V 15A;...



 English
 中文简体
中文简体