Home / News / Industry News / Testing Timers: A Complete Guide to Mechanical Timer Testing and Quality Control
Testing Timers: A Complete Guide to Mechanical Timer Testing and Quality Control
Every mechanical timer that leaves a production line will eventually be judged by whether it rings on time, stops where it should, and keeps working after thousands of cycles. A purchasing engineer at an oven plant once described the most expensive defect of his career in those terms: a batch of timers that looked perfect out of the box, yet drifted by four minutes over a two-hour heating cycle because the factory had accepted them on visual inspection alone. The rework cost more than the entire order. That is why testing timers, before they are shipped and again after they arrive at an appliance factory, is now a standard requirement across the home appliance supply chain.
A mechanical timer is not a decorative knob. In an oven, an air fryer, an electric pressure cooker, or a sterilizer, the timer is a safety device, a user-interface element, and a quality statement. When the timer fails, the appliance fails; when the timer drifts, the cooking result changes; when the timer stops working, the user may believe the whole machine is defective. For engineers and procurement teams who specify timers, understanding what timer testing covers, how the tests are performed, and what the results actually mean is the difference between buying a component and buying a problem.
This guide explains the complete picture of testing timers for appliance applications: the parameters that define a good mechanical timer, the test procedures used by professional timer manufacturers, the tolerances you should request, and the questions you should ask before qualifying a timer manufacturer or supplier. We also cover the application-specific requirements for ovens, air fryers, pressure cookers, egg cookers, and medical devices, so you can match the test plan to the end product.
Conclusion: Testing timers is a structured process that combines timing accuracy, torque, temperature resistance, electrical safety, and endurance checks. A supplier that documents these tests gives you the only reliable guarantee of batch-to-batch consistency.
Why Testing Timers Is a Non-Negotiable Step in Appliance Production
Testing timers should be treated as a gate in the procurement process, not as a formality performed after delivery. The conclusion of nearly every field failure analysis in this industry is the same: the defect was visible in a properly designed test long before the appliance reached a consumer. A timer that will drift, jam, or lose its bell function shows measurable symptoms within the first thousand cycles, and a simple endurance test exposes them in a matter of hours.
The practical impact of skipping tests is severe. If a timer's contact welds closed, the appliance may continue heating until the thermal fuse or the user intervenes. If a spring weakens, the timer will count down faster than the dial indicates and undercook the food. If the escapement deforms in the heat of an oven, the timer may stop completely. In every scenario, the failure is attributed to the appliance brand, not to the timer supplier. That is why certification bodies such as UL, CE, TUV, and DKJ require documented evidence of timer testing as part of appliance safety approval.
The cost logic is also straightforward:
A test failing inside the supplier's own quality plan costs a few rejected parts and one hour of labor.
A test failing during the appliance factory's incoming inspection costs a return shipment and a production delay.
A test failing in the field costs a warranty claim, a recall, and, in the worst case, a safety incident.
For a B2B buyer, the real price of a timer is therefore not the unit cost; it is the total cost of ownership, which includes sampling, testing, rejects, line stoppages, and customer complaints. Suppliers that invest in comprehensive testing reduce that total cost, while suppliers that skip it simply move the risk to your factory.
Key takeaway: A timer manufacturer's test capability directly affects your warranty rate and brand reputation. Make testing a contractual requirement, not a delivery-day surprise.
Core Parameters Evaluated When Testing Timers
The phrase "testing timers" can mean many things depending on the product category, but for mechanical timers used in appliances, the test plan always centers on the same core parameters. These parameters appear in the test reports of qualified suppliers and in the acceptance criteria of appliance OEMs. Understanding each one helps you specify the right timer and interpret the supplier's data correctly.
Typical parameters checked when testing timers for kitchen appliances; actual values depend on the appliance type and the target market standard.
Parameter
Typical Acceptance Range
Common Test Method
Why It Matters
Timing accuracy
±3% of set duration or better; precision series ±1% to ±1.5%
Start the timer and compare the actual stop time against a calibrated reference clock
Determines whether recipes and cooking results are repeatable
Operating torque
Peak 3–10 N·m depending on cam and knob design
Torque meter applied to the knob spindle; observe the switching action point
Affects user feel and whether the switch opens and closes reliably
Contact resistance
≤ 50 mΩ after the life test
Milliohm meter across the closed contacts
Prevents overheating and arcing at the switching contacts
Temperature resistance
Continuous operation at 125°C; peaks up to 155°C for high-temperature grades
Thermal chamber test at rated temperature, followed by accuracy recheck
Ensures gears, springs, and housing do not deform inside hot appliances
Dielectric strength
1250 V AC for 1 minute without breakdown (value depends on standard)
Hi-pot tester between live parts and exposed metal
Required for electrical safety certification and user protection
Endurance
10,000 cycles minimum without timing failure
Automated rig that winds and releases the timer under rated electrical load
Confirms long-term reliability in daily residential use
Timing Accuracy
Timing accuracy is the most visible parameter because the end user sees the result directly. The timer is wound to a setting, started, and the test engineer compares the stop moment against a calibrated reference clock. For standard countdown timers, a tolerance of ±3% of the dial range or better is typical; precision series parts achieve ±1.5% to ±2%; and medical-device timers often demand ±1% or tighter. When testing timers, the accuracy check must be performed at several points of the dial, not only at full scale, because spring torque and gear load vary across the stroke.
Operating Torque and Switching Action
Operating torque defines how much force the user needs to turn the knob, and also whether the internal switch will open and close cleanly at the end of the cycle. A torque meter measures the peak and average values on the knob spindle. If the torque is too low, the switch may bounce or the knob may move during vibration; if it is too high, the assembly feels stiff and the knob may strip. The contact action point is checked with a continuity meter to ensure the circuit breaks when the timer reaches zero.
Temperature Resistance
Mechanical timers in ovens and air fryers operate near heat sources that can reach 125°C, and some designs see 155°C. Temperature testing places the assembled timer in a thermal chamber at the rated temperature for a fixed period, then rechecks accuracy, torque, and visual deformation. High-temperature-resistant metal mechanical timers use metal gears, steel shafts, and heat-stabilized materials; the test confirms that none of these parts deform, bind, or change the switching point when the surrounding air is hot.
Electrical Safety and Insulation
Because the timer switches mains voltage, dielectric strength and insulation resistance are mandatory checks. A hi-pot tester applies a high voltage, typically 1250 V AC for one minute, between live contacts and exposed metal parts, and the timer must show no breakdown or leakage beyond the limit. Contact resistance, measured with a milliohm meter, must stay low enough to avoid heating at high currents. These tests are the backbone of UL and CE certification, so a timer that passes them internally will normally pass the certification audit as well.
Endurance and Life Cycle
An endurance rig winds and releases the timer automatically until it reaches the target cycle count, commonly 10,000 cycles or more. The test includes the rated electrical load so that contact wear is realistic. At every thousand cycles, engineers measure accuracy and torque to observe the drift trend. A good mechanical timer should hold its timing band through the whole test; a poorly designed one will show progressive drift, increasing resistance, or complete failure.
Key takeaway: The six parameters above form the minimum test set for any appliance timer. If a supplier cannot provide data for all of them, treat the missing data as a supply risk.
How a Professional Timer Manufacturer Performs Timer Testing
Testing timers inside a factory is not a single event; it is a chain of checks that follows the product from raw material to packing. Professional timer suppliers structure their quality plan in three stages: incoming material inspection, in-process testing, and final inspection with sampling. Understanding these stages helps a buyer evaluate whether a supplier truly controls quality or simply reacts to failures.
Incoming Material Inspection
Timer quality begins with raw materials: spring wire, gear blanks, contact rivets, and housing resin. A manufacturer that makes its own timing gears and tooling can control dimensional consistency far better than one that buys finished parts from third parties. Incoming inspection typically checks hardness, surface finish, and dimensional tolerances against the original drawings, and rejects any lot that deviates from the specification.
In-Process Testing
The self-stepping function, which is the heart of a metal mechanical timer, is verified during assembly. Each unit is wound and released to confirm that the escapement advances reliably and that the cam profile produces the correct switch sequence. Where a bell is fitted, the audio output and the bell timing alignment are checked. Calibration adjusts the dial markings so they correspond exactly to the actual switching point.
Final Inspection and Sampling
After assembly, timers move to a final audit station, where operators test the finished product under conditions identical to incoming inspection but with stricter limits. Sampling plans follow AQL (acceptable quality level) principles, so a batch of 5,000 timers may undergo a sample test that provides statistical confidence for the whole batch. Torque curves, accuracy values, and test results are recorded and summarized in a batch test report that can be shared with the customer.
A Snapshot of a Typical Quality Plan
Testing timers has its own cost, and a quality plan must allocate effort where it protects the customer best. The chart below shows a typical distribution of testing effort across a professional mechanical timer quality plan. Timing accuracy receives the largest share, followed by endurance and temperature tests that simulate years of use in a short period. Visual and dimensional checks, although small in proportion, act as the first filter that stops obvious defects early. We use this balance because it reflects the field failure patterns we observe across our own product lines.
The distribution above tells several important stories about the nature of mechanical timers. Timing accuracy takes the largest share because it is the function users notice first; a timer that looks fine but runs slow will be detected immediately when a consumer follows a recipe. Endurance testing consumes the second-largest share because most mechanical failures appear after thousands of cycles, not in the first hundred, and only a rig can compress years of use into days. Temperature resistance is weighted heavily because ovens and air fryers expose the timer to thermal conditions that ordinary plastic parts cannot survive. Torque verification ensures that the knob can be turned smoothly without overloading the internal spring, which protects both the user experience and the mechanical linkage. Electrical safety tests protect the user and the appliance from short circuits at the switching contacts, and they provide the evidence demanded by certification bodies. Visual and dimensional inspection, though only a tenth of the effort, prevents scratched dials, missing screws, and wrong shaft lengths from reaching packing lines. The distribution also mirrors the documentation requirements of UL, CE, TUV, and DKJ, all of which expect recorded evidence for safety-related parameters. When a supplier cannot produce test records for these categories, the buyer has no proof that the product will behave consistently from batch to batch. In contrast, a manufacturer that runs these tests in-house can issue a clear test report with every shipment. That transparency allows an OEM to accept goods without re-testing every piece, which shortens lead times. It also enables parallel engineering, where sample approval and mass production can proceed at the same time. For these reasons, the composition of a quality plan is a much better indicator of supplier maturity than the price list.
Key takeaway: Look for a supplier whose quality plan allocates real resources to endurance, temperature, and electrical tests, not just to cosmetic checks. Documented evidence across all categories is the sign of a mature timer manufacturer.
Accuracy Grades, Tolerance, and How to Read a Test Report
A test report is only useful if you can interpret its numbers. The most common misunderstanding in timer procurement is treating a single accuracy percentage as a fixed property, when in fact accuracy depends on the test point, the temperature, and the sample size. The first step is to define the accuracy grade you actually need, because a medical-device tolerance is more than ten times tighter than a general-purpose tolerance in absolute terms.
Common accuracy grades observed when testing timers from specialized mechanical timer suppliers; the tolerance is usually expressed as a percentage of the set duration or of the full dial range.
Accuracy Grade
Typical Tolerance
Typical Applications
Field Impact
Standard timer
±3% of set duration
Air fryers, egg cookers, steamers, disinfection cabinets
A few seconds of drift per minute, acceptable for most recipes
Precision series
±1.5% to ±2%
Ovens, electric pressure cookers, deep fryers
Consistent browning and repeatable pressure-cooking cycles
Instrument grade
±1% or better
Medical devices, sterilizers, laboratory equipment
Required for dosage, sterilization, and treatment protocols
A tolerance expressed as a percentage is normally referenced to the dial range or to the set time, and the report should state which one was used. For example, a 60-minute timer with ±3% of full scale can deviate by up to 1.8 minutes, while the same tolerance on a 15-minute timer means only 27 seconds. This is why short-duration timers for egg cookers and medical devices need proportionally tighter grades.
When reviewing a batch test report, check four details. First, confirm the ambient temperature of the test, because accuracy shifts with temperature in a mechanical system. Second, verify the sample size and whether the report states the acceptance level, such as AQL 0.65 for major defects. Third, look at the spread of the measured values, not just the average, because a wide spread means inconsistent parts even if the average looks good. Fourth, check that the instruments used for calibration carry a valid calibration date and traceability to a reference standard.
Key takeaway: Specify the accuracy grade, the reference point, and the sample plan in your purchase contract. A supplier should be able to show the full distribution of test results, not a single best-case number.
Testing Timers for Specific Appliances: What Changes by Application
All mechanical timers share the same core parameters, but the emphasis shifts with the end application. An oven timer lives at high temperature for long cycles; an egg cooker timer must be precise over just 15 minutes; a pressure cooker timer carries the safety responsibility of a sealed cooking vessel. The table below summarizes the typical configurations and the test focus for the main appliance categories.
Typical timer ranges and test priorities for common kitchen and household appliances.
Appliance
Typical Timer Range
Test Focus
Oven (free-standing and built-in)
60–90 min; long-cycle models up to 160 min
Sustained high-temperature accuracy, metal gear durability, no dial deformation
Air fryer
30–60 min with bell
Vibration resistance, bell reliability, contact chatter prevention
Beyond the table, mechanical timers are also offered in a few common configuration families that determine how the test plan is written. The configuration, not just the timing range, changes the way you evaluate the sample.
Standard winding timer
Manual knob winding, spring-driven countdown, switch-off at zero. The most widely used configuration; tested for accuracy, torque, and basic endurance.
Timer with bell
Adds an audible end-of-cycle signal. The bell spring and hammer are extra wear points; endurance testing verifies the ring remains loud and correctly timed.
High-temperature-resistant metal timer
Metal gears and heat-stabilized materials for oven and deep-fryer duty. Requires thermal-chamber testing at 125°C or higher.
Small-size precision timer
Compact body with tighter tolerance, often used in medical devices and compact appliances. Tested with a stricter accuracy band and documented distribution.
Ovens place the most demanding combination of high temperature and long timing range on a mechanical timer. A typical 60-minute or 90-minute oven timer must maintain accuracy at sustained heat, and a 160-minute high-temperature-resistant model extends that requirement to very long cycles. When testing oven timers, the unit is placed in a heated chamber at the appliance's nominal operating temperature, and the switching moment is verified after thermal soak.
Air fryer timers are usually 30-60 minute models with a bell, and they experience vibration from the cooking fan as well as heat from the cavity. The test plan for these parts pays special attention to false ringing and contact chatter, because vibration can make the switch bounce and interrupt the circuit momentarily. A general-purpose countdown timer with DKJ/SL approval is often shared across several appliance platforms, which makes its test evidence especially valuable to a multi-product OEM.
Medical device timers in the 5-15 minute range have the tightest accuracy requirements because they may be part of sterilization or treatment protocols. CE and UL certification, documented accuracy distribution, and batch-repeatability data are the critical deliverables, and testing is performed on every production lot rather than on a monthly sample. A supplier that treats medical timers as a dedicated product family is preferable to one that only makes appliance timers and relabels them.
Key takeaway: Match the test requirement to the appliance, not to the catalog description. The timer that passes in an egg cooker may fail in an oven, purely because the environment is different.
Common Timer Failures That Testing Catches Before They Reach Consumers
Knowing what can fail is the fastest way to understand what to test. Every failure mode below has been observed in real field returns, and every one of them can be reproduced in a properly designed timer test. When a supplier's test report covers these failure modes, the probability of field returns drops dramatically.
Contact welding or sticking. High inrush current can weld the switch contacts. The endurance test with electrical load reveals this quickly, and the fix is a better contact material or a higher contact force.
Spring fatigue and drift. The mainspring loses force after repeated winding, so the timer runs slow. The drift is measured at every thousand cycles in an endurance test.
Gear wear and jamming. Soft or poorly lubricated gears wear into a bind, stopping the countdown. Torque measurement and long-cycle testing catch the progressive increase in running resistance.
Bell failure. The bell spring breaks or the hammer misaligns, so the end signal disappears. Bell tests listen for loudness and correct timing across the life test.
Knob and shaft deformation. A shaft that is too soft can bend under high temperature or repeated use, moving the dial indicator away from the true setting. Dial-position checks combined with thermal testing expose this.
Thermal deformation of the housing. Low-cost resins soften in oven heat, allowing the gear train to shift. Dimensional checks after a thermal chamber run prevent this problem from shipping.
The pattern behind all of these failures is that a component can meet every static specification and still fail in the field. Only dynamic tests, meaning endurance, thermal cycling, and electrical load, can predict real-world behavior. That is why testing timers with realistic load conditions is more valuable than any amount of visual inspection.
Key takeaway: When you see a supplier's test report, check that it includes dynamic tests under load and temperature. A static dimensional report alone offers very little protection against these failure modes.
How to Qualify a Mechanical Timer Manufacturer or Supplier
Qualifying a timer supplier is an engineering decision as much as a purchasing decision. The fastest way to compare suppliers is to request a sample batch and run the same test plan on all of them, then evaluate which supplier provides full documentation and which provides only a certificate photocopy. Whether you are an OEM, a wholesaler, or an overseas distributor, the checklist below summarizes what to review in the documents and what to verify during a factory audit.
A two-part qualification checklist covering document review and factory audit for a prospective mechanical timer manufacturer.
Document Review at Your Desk
Batch test reports for the last three shipments, including accuracy distribution and torque curves.
Certificates for UL, CE, TUV, or DKJ relevant to your target market.
Material certificates for spring wire, contact rivets, and housing resin.
Calibration records for the supplier's test instruments.
Quality policy statement and AQL acceptance criteria.
Corrective action records for any customer complaints.
Factory Verification on Site
In-house tooling and gear manufacturing capability, because it controls dimensional quality.
Thermal chambers, endurance rigs, and hi-pot testers physically present and in daily use.
Operator training records and work instructions at each test station.
Segregation and traceability of reworked parts.
Handling of incoming material inspection and rejected lots.
Shipping packaging that protects dials and shafts during transit.
A supplier that manufactures its own timing gears, molds, and automated equipment has obvious advantages: dimensional control, cost stability, and the ability to adjust designs quickly when your appliance changes. The company behind this site, for example, has produced mechanical timers since 1991 and builds much of its own production tooling, which is why it can offer a broad range that spans 5-minute medical timers to 180-minute steamer timers. You can review the full mechanical timer product range and compare the configurations against your appliance specifications.
Once you have shortlisted two or three suppliers, run a controlled comparison: order identical samples, measure them with the same instruments, and ask each supplier to explain any deviation. The supplier that gives clear, honest explanations is usually the supplier that can sustain a long-term partnership, because quality ultimately depends on the people operating the test plan, not on the brochure.
Key takeaway: A qualification decision should combine document evidence, an on-site audit, and an independent sample test. The supplier that passes all three is the one who will keep your production line running.
FAQ: Testing Timers
The questions below come up repeatedly when appliance manufacturers and procurement teams start a timer qualification project. They summarize the practical aspects of testing timers and the information you should expect from a supplier.
What does "testing timers" mean in the appliance industry?
It means verifying a mechanical or electromechanical timer against its specified performance, including timing accuracy, operating torque, temperature resistance, electrical safety, and endurance. The tests are performed on samples using calibrated instruments, and the results are documented in a test report that accompanies the shipment.
How accurate should a mechanical timer be?
Standard appliance timers are usually specified at ±3% of the set duration or of the full dial range, precision oven and pressure-cooker timers at ±1.5% to ±2%, and instrument-grade timers for medical devices at ±1% or better. Always check whether the percentage refers to the set time or the dial range, because it changes the allowed deviation in minutes.
Can a mechanical timer withstand high oven temperatures?
Yes, if it is designed and tested for that purpose. High-temperature-resistant metal mechanical timers are built with metal gears, steel shafts, and heat-stabilized materials, and they are validated in thermal chambers at 125°C or higher, with some grades rated up to 155°C. The test report should show the rated temperature and the duration of exposure.
How many operating cycles should a timer survive?
A typical commercial specification is 10,000 cycles without failure, and many precision timers exceed 30,000 cycles. The endurance test should be run under rated electrical load and at the working temperature, because an unloaded test does not reproduce contact wear or thermal stress.
Which certifications should I require from a timer manufacturer?
It depends on your target market. UL is common for North America, CE for the European Union, TUV for Germany and many export markets, and DKJ for specific appliance channels. Ask the supplier which certifications the specific model holds and request the certificate number so you can verify it with the issuing body.
How do I test a timer sample before mass production?
Run a simple countdown accuracy test at three dial positions, measure the operating torque, place the timer in a thermal chamber at the rated temperature, perform a hi-pot test on the contacts, and run at least 1,000 load cycles on a test rig. If the sample passes all five checks and the supplier provides matching documentation, the risk of mass-production deviation is low.
Key takeaway: Use the FAQ answers as the first draft of your own timer specification. Clear acceptance criteria protect both you and the supplier from disputes later.
Quick Links for Further Reading
To continue your research on testing timers and mechanical timer selection, the following pages provide product details, technical explanations, and company background.
Key takeaway: Start with the product center to match timer configurations to your appliance, then request samples and a batch test report before you place a production order.
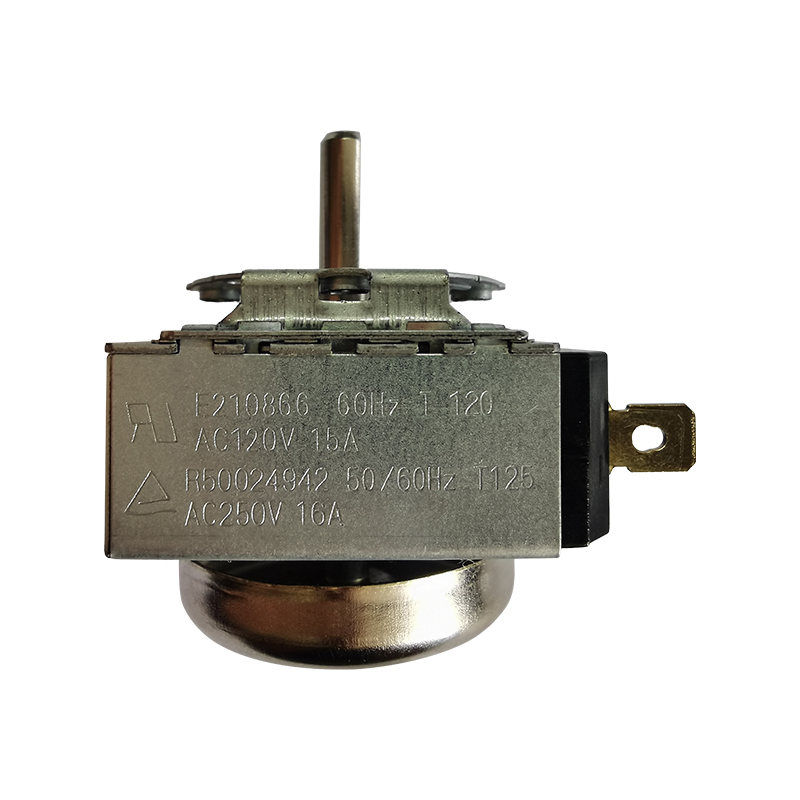
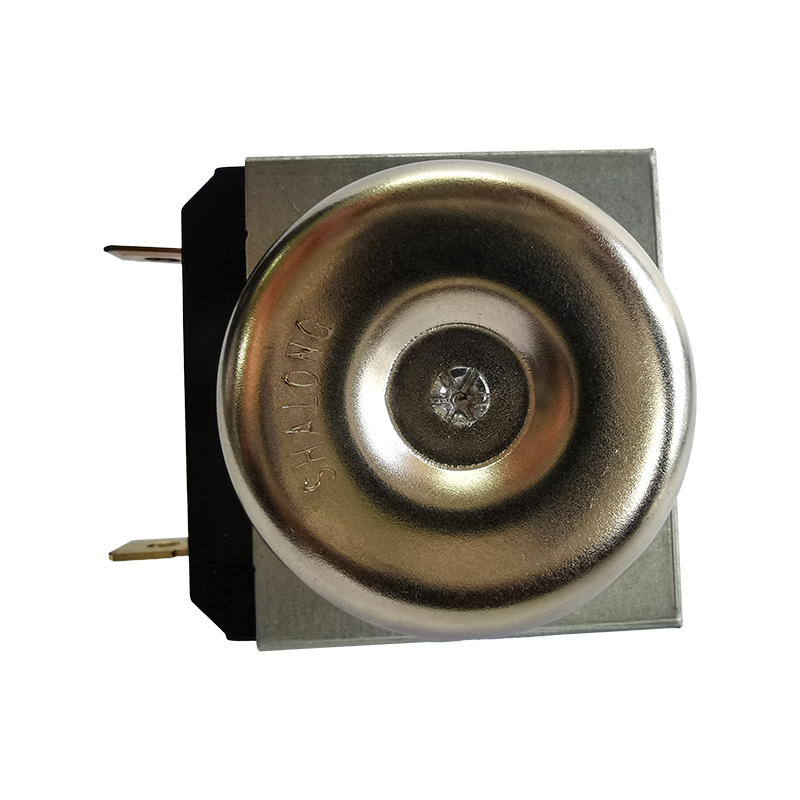
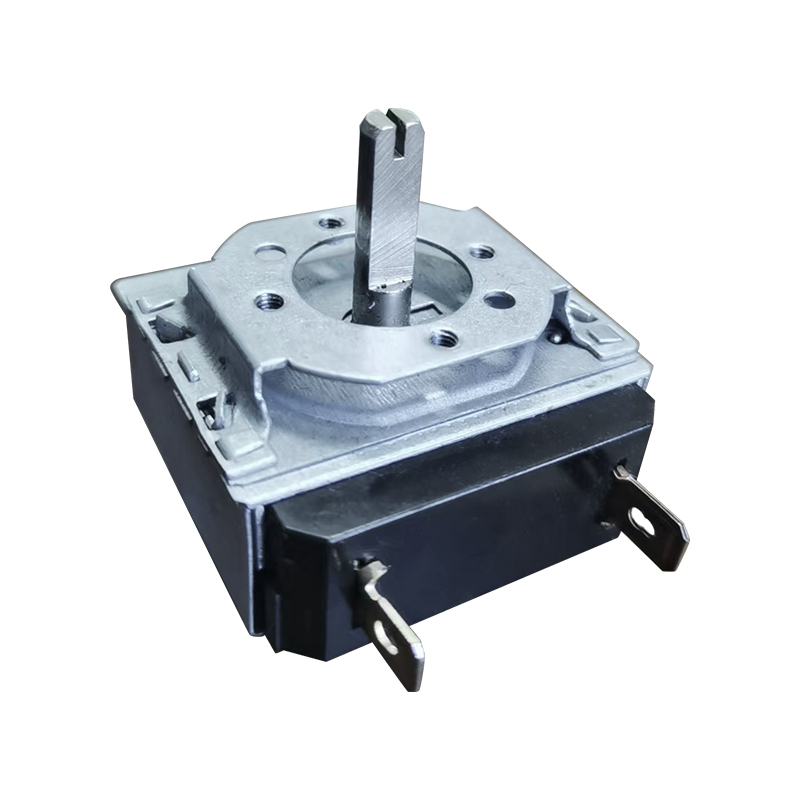
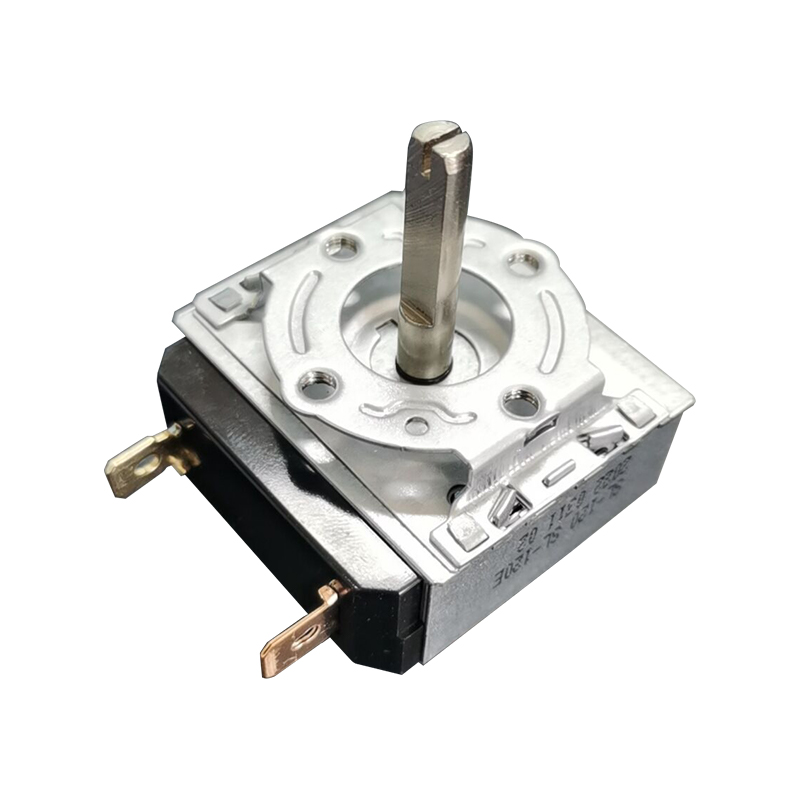
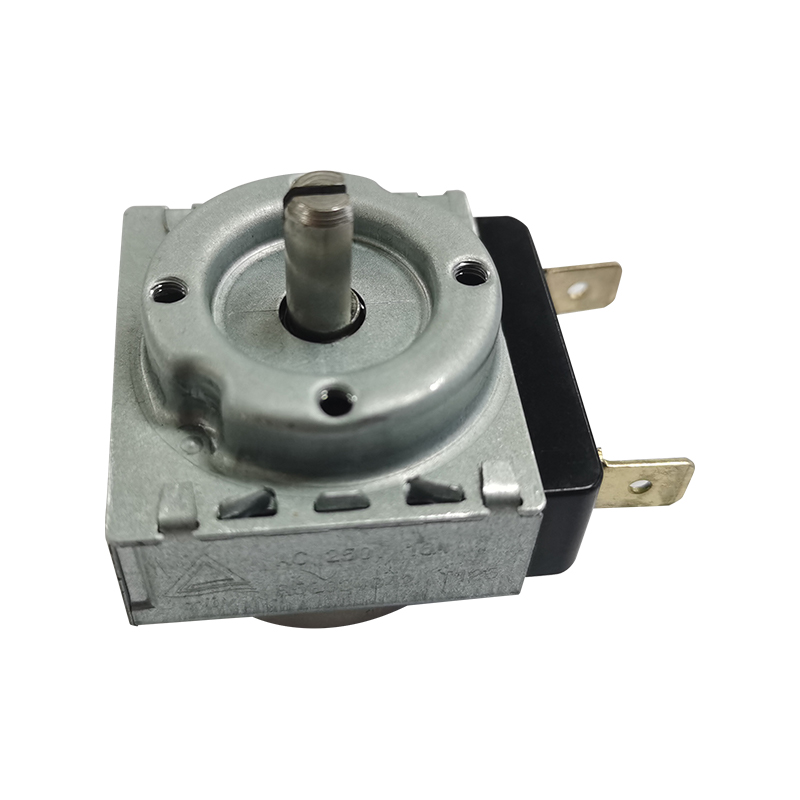
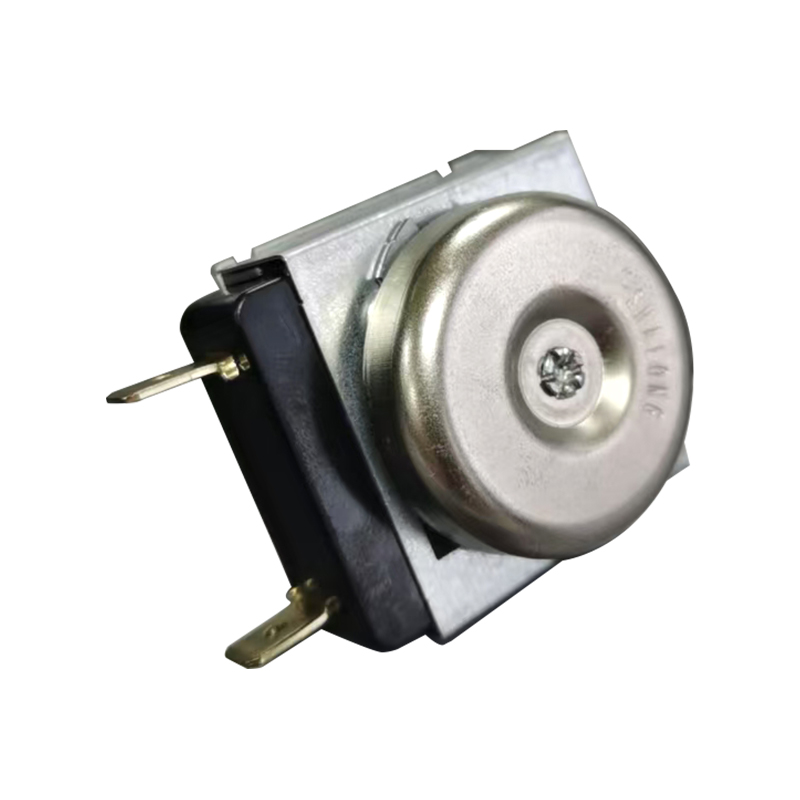
Time setting: 15', 20', 30', 60' or customized (such as 90 min)Applicable: Oven/Electric Pressure Cooker/Kitchen MachineContact capacity: AC 120V 15A;...
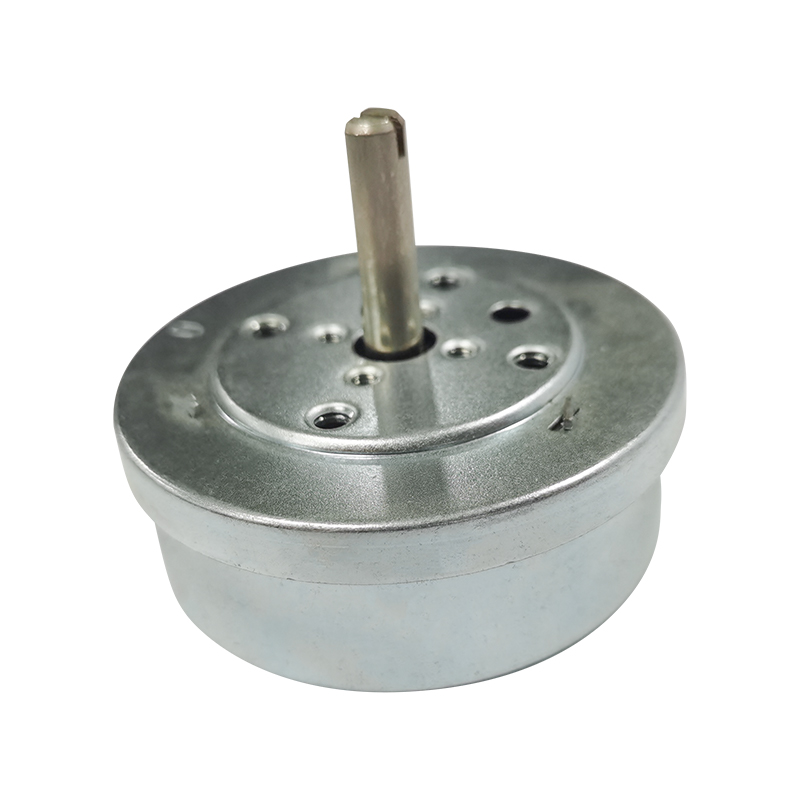
Time setting: 15', 20', 30', 60' or customized (such as 90 min)Applicable: Oven/Electric Pressure Cooker/Kitchen MachineContact capacity: AC 120V 15A;...



 English
 中文简体
中文简体