When your oven fails to start, heats unevenly, or doesn't alarm when cooking is finished, the problem often points to a core component—the oven's mechanical timer. As a "gate" controlling the flow of current, a malfunctioning timer can paralyze the entire heating system.
Understanding How an Oven's Mechanical Timer Works
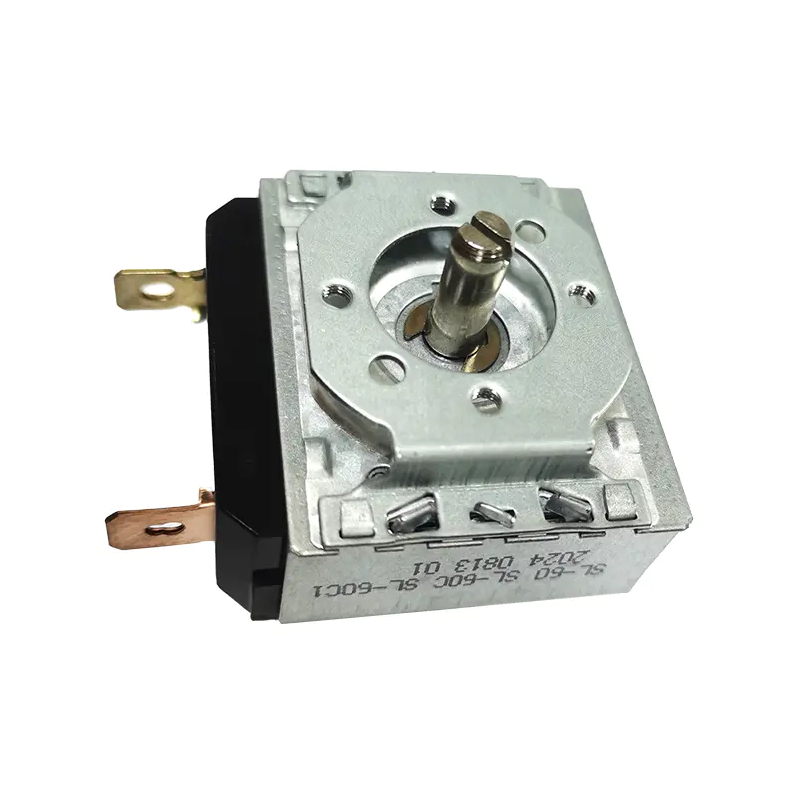
Before we begin, we need to understand the basic structure of an oven's mechanical timer. It typically consists of a spring-driven motor (or spring mechanism) and a set of electrical contacts.
- Closed State: When you rotate the knob to set the time, the internal contacts close, and current flows to the heating element.
- Open State: After the timer reaches zero, the contacts spring open, cutting off the power.
If the contacts become oxidized or eroded, causing poor contact, or if the internal mechanical gears are jammed, the oven will not function properly.
Preparing Tools and Safety Checks
Safety is always paramount before performing any electrical repair or testing:
- Disconnect the Power: Unplug the oven to ensure the device is completely powered off.
- Prepare a multimeter: A digital multimeter is recommended, set to the resistance (Ω) or buzzer setting.
- Remove the panel: Use a screwdriver to open the oven casing and locate the wiring terminals on the back of the timer.
Specific steps for testing the oven's mechanical timer:
1. Mark and disconnect the wiring
To avoid incorrect wiring later, it is recommended to take a photo as a record, then carefully disconnect the power cord connected to the timer using needle-nose pliers.
2. Test the "normally open" state (zero-position test)
With the timer knob in the "0" or "off" position, touch the two probes of the multimeter to the two main terminals of the timer.
- Normal result: The multimeter displays "1" or "OL" (infinity), indicating that the circuit is open.
- Abnormal result: If there is resistance or a buzzing sound at this time, it indicates that the internal contacts are stuck.
3. Test the "on" state (running test)
Rotate the knob of the oven's mechanical timer to set any working time (e.g., 10 minutes).
- Normal Result: The multimeter should beep, or the displayed resistance value should be close to 0Ω. This indicates that the contacts are closed well and current can flow normally.
- Abnormal Result: If the multimeter still displays infinite resistance after turning the knob, it indicates that the internal contacts are damaged or severely carbonized.
4. Check the Mechanical Timekeeping Function
In addition to electrical testing, observe whether the knob can automatically and slowly return to zero. If the knob does not move after setting the time, it indicates that the mechanical spring or gear set of the timer has failed.
Common Fault Diagnosis and Solutions for Oven Mechanical Timers
During the testing process, you may encounter the following typical fault symptoms. The following are the corresponding cause analysis and handling suggestions:
Timer Mechanical Stall (Not Running)
If, after setting the time, you do not hear the internal "tick" sound or the knob does not return to its original position, it is usually because the mechanical gear set inside the oven's mechanical timer is stuck due to oil buildup or the spring is fatigued and damaged. In this case, the timer cannot drive the contacts to close, and it is recommended to replace it with a new one.
If the oven does not respond after setting the time (does not heat)
When you turn the knob and the timer works normally, but the multimeter cannot detect a continuity signal, it indicates that the internal contacts are severely burned or oxidized. Because the oven's mechanical timer carries a large current during operation, arcing between the contacts can cause carbon buildup. If cleaning the contacts is ineffective, the entire assembly needs to be replaced.
If the timer ends but fails to automatically shut off (does not trip the circuit breaker)
This is one of the most dangerous faults. It manifests as the internal contacts remaining stuck after the timer resets to zero, causing the heating element to continue operating. This is usually due to high-temperature welding of the contacts. To avoid fire hazards and other safety risks, the timer must be stopped immediately and replaced.
By following these steps, you can easily determine the condition of your oven's mechanical timer. If you find abnormal resistance testing or obvious physical sticking of the mechanical knob, replacing the timer is usually the most economical and thorough solution.


 English
 中文简体
中文简体


