To set a mechanical oven timer, turn the timer dial clockwise past the 20-minute mark first, then turn it back counterclockwise to your desired cooking time. This "wind-up" step is essential — skipping it is the most common reason mechanical timers fail to ring or count down accurately. Once set, the dial will rotate on its own and trigger a bell when it reaches zero.
Mechanical oven timers are spring-loaded devices that require proper winding tension to function. Unlike digital timers, they do not use batteries or electricity — they rely entirely on a coiled spring mechanism that releases energy as time passes.
Follow these steps carefully to ensure your timer works correctly every time:
- Locate the timer dial on your oven — it is usually labeled in minutes and positioned near the temperature controls.
- Turn the dial clockwise all the way to the maximum time setting (typically 60 minutes). This winds the spring mechanism fully.
- Turn the dial counterclockwise to your desired cooking time. For example, set it to 30 if you need 30 minutes.
- Release the dial gently. You should feel slight resistance as the spring tension holds the position.
- Listen for a faint ticking sound — this confirms the timer is counting down.
- When time is up, the timer will ring or click to signal the end of the set period.
If you need less than 20 minutes, it is still essential to wind past the 20-minute mark first before returning to your target time. Setting directly to a low number without winding provides insufficient spring tension and the timer may not advance or ring.
Why You Must Wind Past 20 Minutes First
The mechanical timer uses a coiled metal spring as its energy source. When you turn the dial clockwise, you compress this spring. The stored energy is what drives the dial's rotation back to zero.
If you set the timer directly to a small value — say, 10 minutes — without pre-winding, the spring does not have enough compression to move reliably. The dial may stall, move too slowly, or fail to ring at all. Pre-winding to the maximum position ensures full spring tension regardless of how short your cooking time is.
This is a fundamental characteristic of all spring-driven timers and applies to most mechanical kitchen timers, not just those built into ovens.
Common Mistakes and How to Avoid Them
Common mechanical oven timer mistakes and their solutions
| Mistake |
What Happens |
How to Fix It |
| Setting directly to a low time without pre-winding |
Timer stalls or does not ring |
Always wind clockwise past 20 minutes first |
| Turning the dial counterclockwise only |
Spring is not wound; no countdown occurs |
Start with a clockwise rotation first |
| Forcing the dial past resistance |
Spring mechanism may be damaged |
Turn gently; stop at the natural maximum |
| Ignoring the ticking sound check |
Timer may be mis-set and not counting down |
Always listen for ticking after setting |
| Setting timer while oven is off |
Oven may not start automatically (model-dependent) |
Check manual to understand timer-oven linkage |
Mechanical timers are generally accurate within ±2 to 5 minutes per hour, depending on the age and condition of the spring. Older timers or those that have been improperly wound repeatedly may drift further from the set time.
For most everyday cooking tasks — roasting vegetables, baking casseroles, or heating leftovers — this level of accuracy is sufficient. However, for precision baking such as soufflés, custards, or delicate pastries where timing within 1–2 minutes matters, consider using a separate digital timer as a backup.
Factors that affect mechanical timer accuracy include:
- Spring wear from years of use
- Grease or debris buildup in the mechanism
- Temperature fluctuations near the timer dial
- Improper winding habits over time
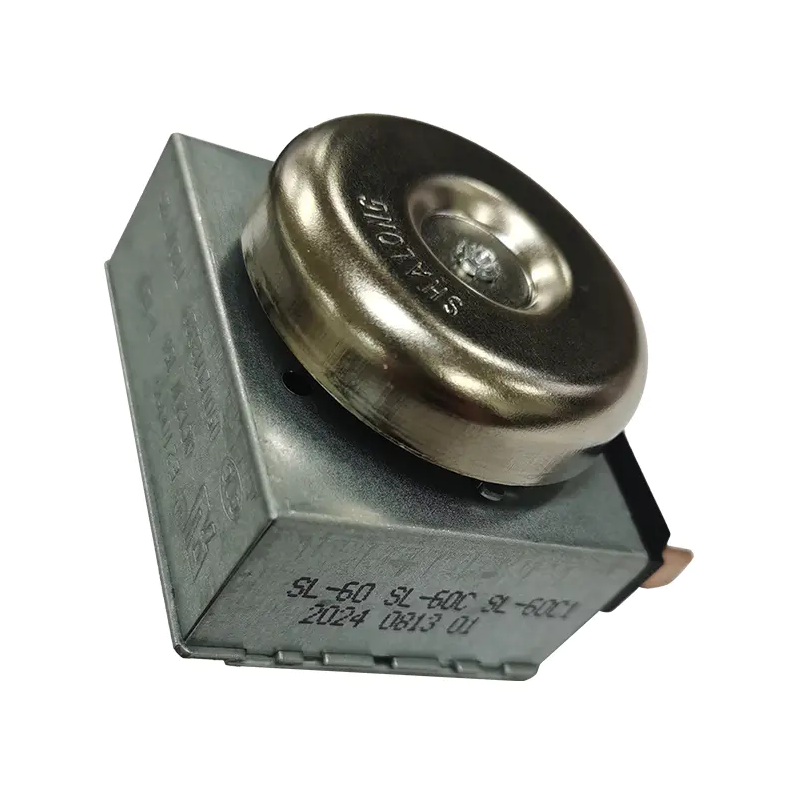
Not all mechanical oven timers work the same way. There are two main types you may encounter:
Countdown-Only Timer
This is the most common type. You set a duration, the timer counts down to zero, and a bell rings. It does not control the oven itself — it simply alerts you when time is up. You must manually turn the oven on and off.
Integrated Cook Timer
Some older ovens have a mechanical timer integrated with the oven's power circuit. Setting this timer can activate or deactivate the oven automatically. These systems typically have two dials: one for the time of day and one for the cook duration. Consult your oven's user manual to understand whether your timer is integrated or standalone before relying on it for timed cooking.
Tips for Maintaining a Mechanical Oven Timer
Proper care extends the lifespan and accuracy of your mechanical timer significantly:
- Always pre-wind to the maximum before setting any time, even for short sessions. This preserves spring integrity.
- Never force the dial past its natural stopping point — excessive torque can snap the spring.
- Keep the timer face clean and free of grease — use a dry cloth to wipe it down periodically.
- If the timer stops ticking mid-countdown, do not re-wind it immediately; allow it to rest, then reset from the beginning.
- If the bell no longer rings at zero, the mechanism may need professional servicing or replacement.
A well-maintained mechanical timer can last 10 to 20 years with regular use, making it one of the most durable components of a conventional oven.
When the Timer Does Not Seem to Work
If your mechanical oven timer is not functioning as expected, work through these checks before assuming the unit is broken:
- Confirm you wound the dial clockwise fully before setting. This is the cause of the problem in most cases.
- Check that the dial is not stuck between markings — it should sit clearly at a minute increment.
- Listen for ticking. No ticking means the spring is not engaged.
- Try winding fully to maximum, then releasing without setting a time — if it ticks and returns to zero, the mechanism is working.
- If none of these steps help, the internal spring or bell mechanism may be worn and require a replacement timer module.
In many cases, the timer itself is working fine — the issue is simply an incorrect setting method. Revisiting the pre-winding step resolves the problem the vast majority of the time.


 English
 中文简体
中文简体


